We get used to seeing dramatic images of the landscape and perhaps you wonder how the final image actually comes about? But first, I want to put one misunderstanding to rest – there is no such thing, these days, as an image straight from the camera being the one that should be taken as “how it was on the day.”
What do I mean by that? A film camera did directly create the image on a piece of film based on the light and the colors that light represented and although you could still change the basic look of a print at the printing stage (not that many people did), you could say that the camera represented reality as it saw it.
A digital camera (or a phone) is very different – it records the different colors of light (actually it records the red, blue and green values of light) in millions of small pixels on the sensor. For many people, the camera takes it one big step forwards – it decides, based on its internal software, how to represent that information in a picture that you see on the screen of the phone. It decides how bright to make it, what sort of overall color tint to show and how much contrast to apply. A professional photographer approaches this differently, instead downloading the raw data from the camera memory card and then making all those decisions about how the image should look when back at their computer. That is what I mean by my starting paragraph – what we are trying to do is to recreate not only what the camera saw, but how it made us feel. What elements about the scene really stood out, how did the light from the sun bounce off the leaves of the trees and so on. Things that your camera or phone is doing according to its programmed rules are all things that we can choose to manage.
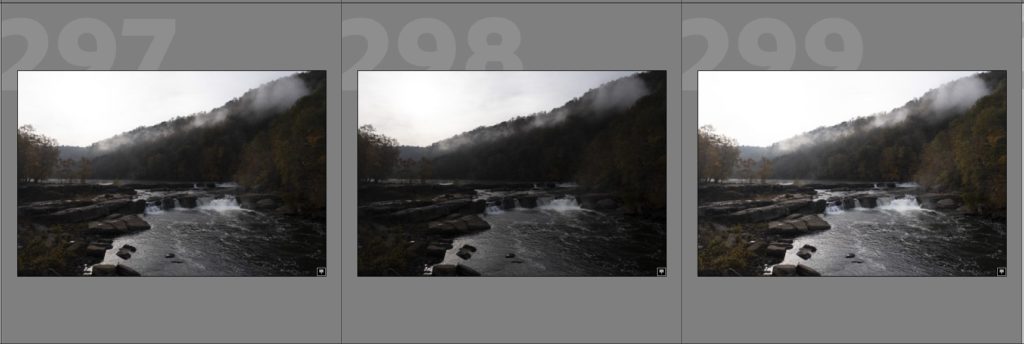
So, what does the raw image out of my drone look like? In fact, there are 3 such images taken at the same time with different exposures. Why? Mainly because our eyes are very good at seeing details in shadow areas and then immediately adjusting to see details in the sky surrounding the sun. The camera just can’t handle that very wide range of tones and so with three separate exposures we can get something closer to what our eyes see. So my three images look like this when I import them into my computer:
If you click on this image, you can probably see that there are some colors there!
I set the exposure so that there was information in the sky, in particular in the center image. The first step is to combine all three to make one image that uses as much of that information as possible – that process is called creating a HDR composite. This is what I see after starting with the basic adjustments to the highlights, the shadows, the overall color tint and so on:
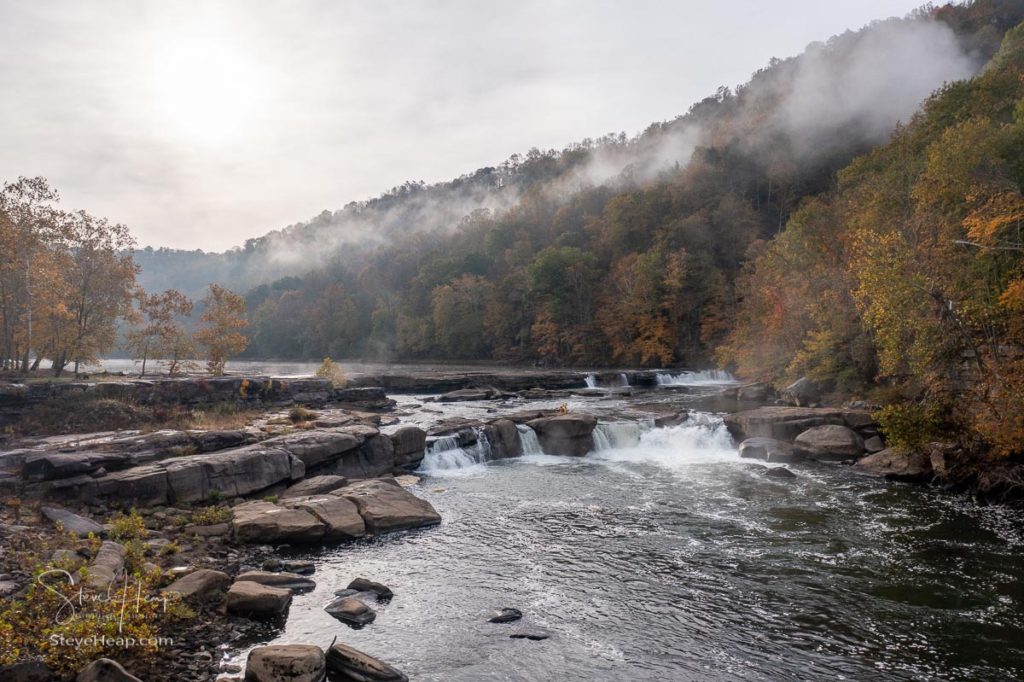
So there are some colors there now, but it certainly doesn’t have the feeling that I got when I was standing there in the park. I could see much more detail in the sky, and the shadowed trees certainly looked a lot more interesting and colorful. So, we set to work to try to recover that “feeling” from the raw data in the image file. For instance, light has a different color depending on the time of day and the cloud cover. We all know how great we look as the sun is sinking in the sky and starting to light our faces with much warmer (redder) light. On a clear day, the colors in the shadow of a building, say, are much bluer because the light getting there is coming from the blue sky and that looks cold in a photograph. Our eyes adjust naturally, but the photo doesn’t and so in this case with a lot of the image in shadow I decided to warm it up a little.
Then I saw that foamy stuff to the left of the lower waterfall. It was there, of course, but it doesn’t look great in a photo that might end up on your wall! So, I get to work removing things like that that spoil the ultimate image. I’m not a journalist and so I don’t need to align with an ethical concern about changing something – I’m trying to create some art!
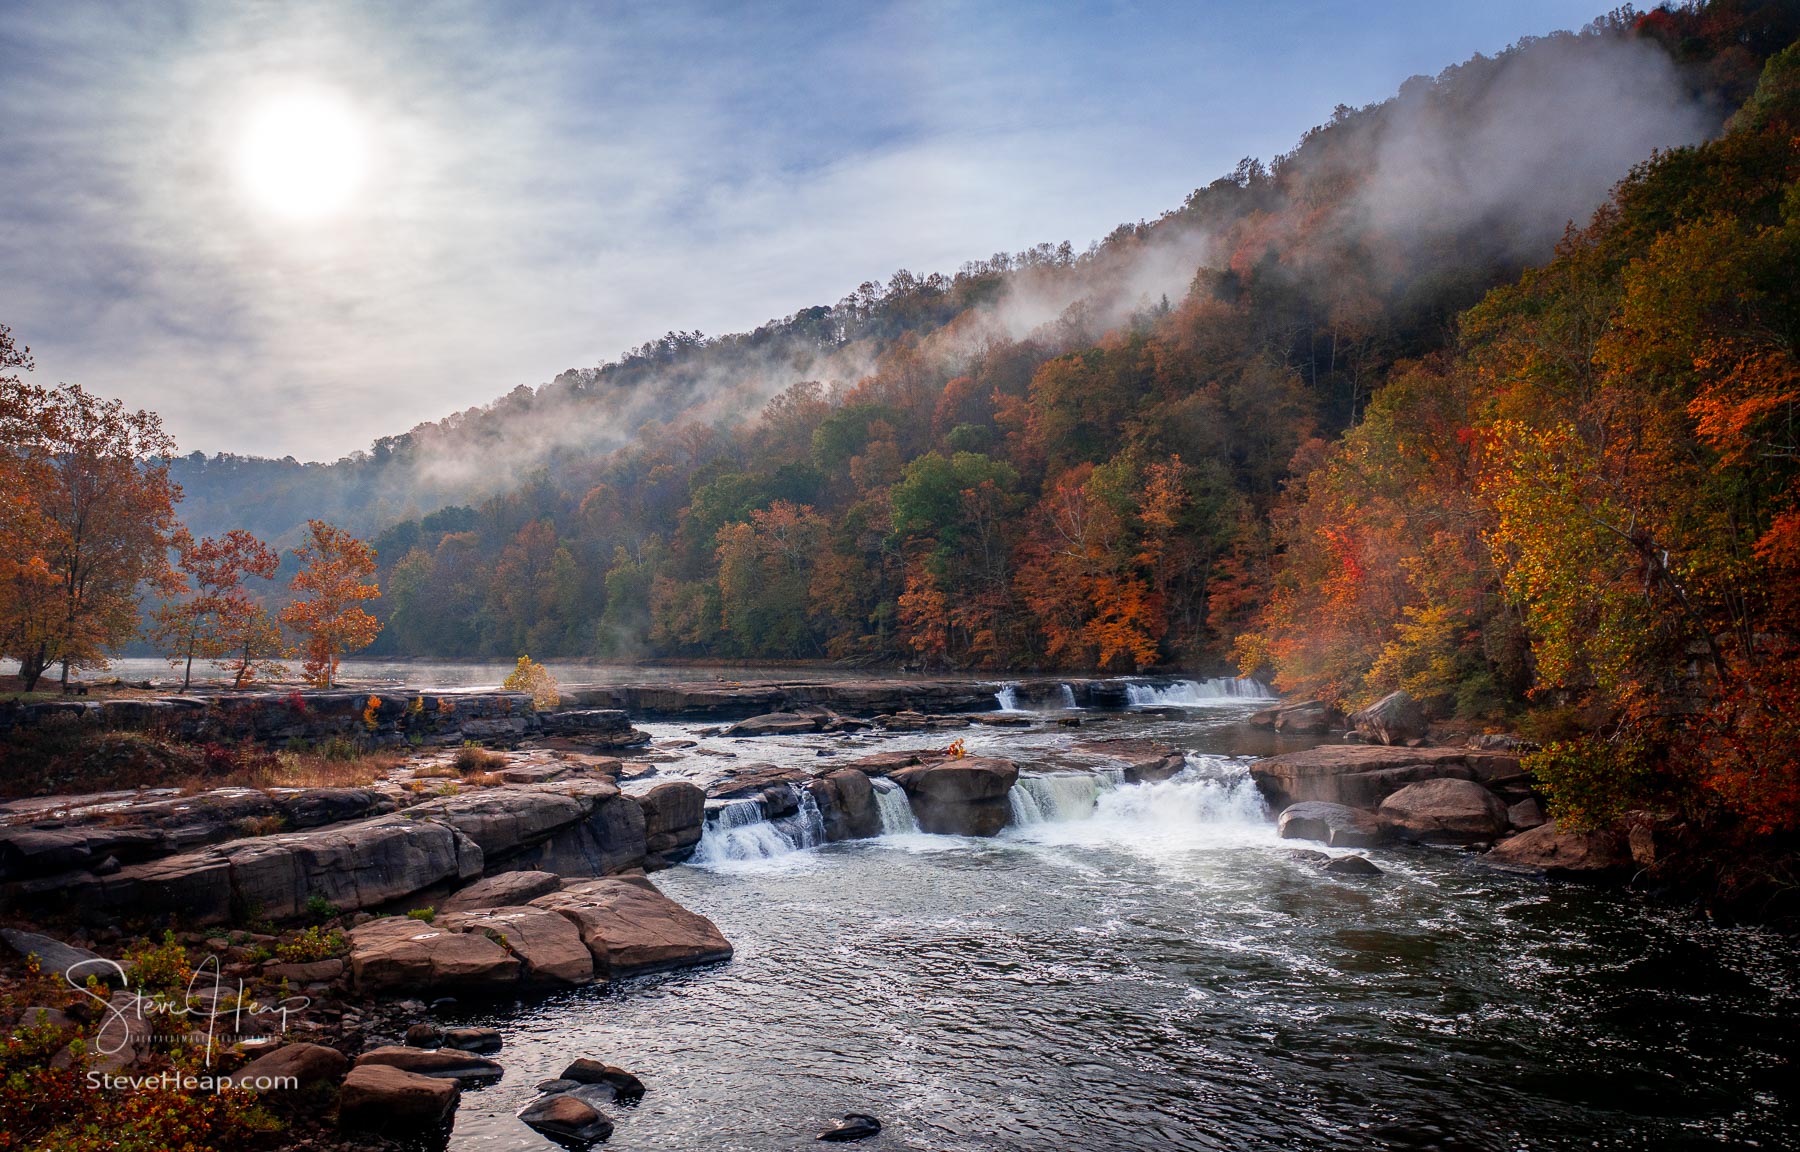
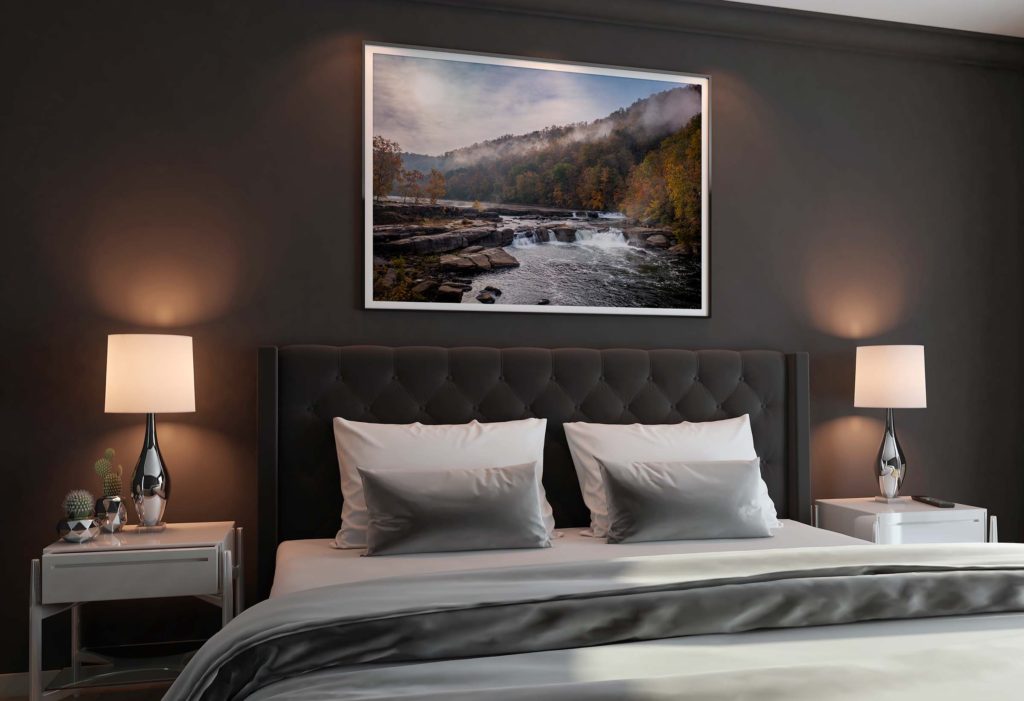
Eventually I get to this final image. I have added a little more brightness to the trees and their leaves, just as if the sun was hitting them a bit more than it did. That gives the picture more brilliance and allows our eyes to wander around the scene seeing details that were perhaps not visible at the start.
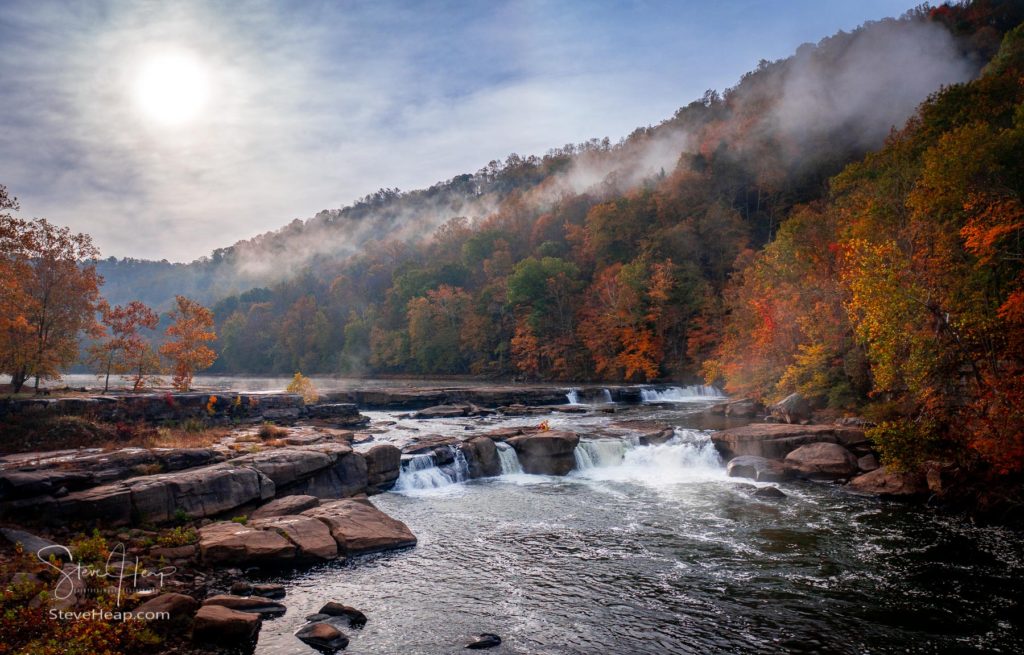
Nothing was added, no new skies were pasted in, and the scene now looks like it made me feel that morning as I was flying the drone. I hope it conveys that feeling of the early morning sun burning the mist off the trees on a cool autumnal morning! Perhaps it would look good in a bedroom?
As usual, you can find this image on prints and other products at my online store for delivery direct to your home. My collection of images from West Virginia can also be found in this collection. I also wrote more about my visit to Valley Falls and included more photos in this story from 2021.
If you wish to be the first to hear of new work, or of special discounts on my prints, please sign-up to my newsletter. No obligation of any kind!

Louis Dallara
13 Feb 2022Great images, I love water falls photographs and the HDR really makes an awesome image.
admin
13 Feb 2022Thanks Louis! How does the website strike you now when you first arrive? I’ve been doing some restructuring, have got rid of all my images (for now, as I want to just show my very favorite ones not 500 other ones that no-one will go through) and made it more about the stories plus now an option to subscribe.
Pingback: Cucumber Falls in the winter – Backyard Image